Geotagging photos for iPhoto's Places using a sample GPS tracklog
← Back to Geotagalog

This tutorial shows how to use Geotagalog
to automatically geotag photos so that they will be organized in iPhoto's Places feature.
The tracklog and photos were taken by Geotagalog's author along Amtrak's
Empire Builder route.
Instructions
-
Make sure you've downloaded Geotagalog
and our sample tracklog and photos.
-
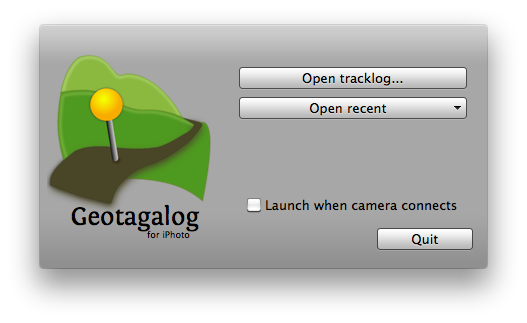
Start Geotagalog. The launch window will be displayed:
-
Open the Empire Builder.gpx file in
the sample set you downloaded.
You could click "Open tracklog..." and find it, but
it's easier to just drop the file on Geotagalog's Dock icon:
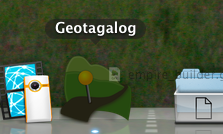
(You can actually drop both the track file and photo folder together and jump straight to Step 6!)
-
Geotagalog will load the location history from the tracklog file and
display it on a low-resolution map:
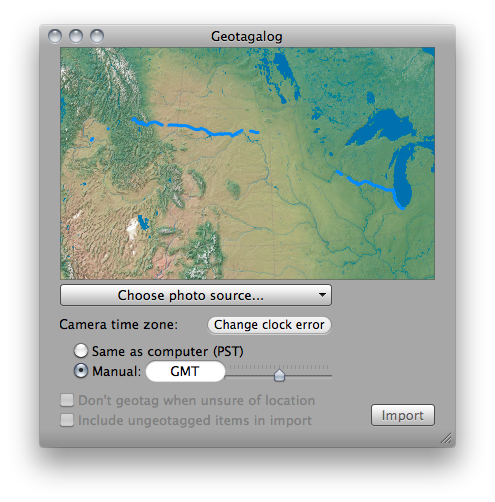
Now you need to choose a source of photos to geotag and import into iPhoto.
-
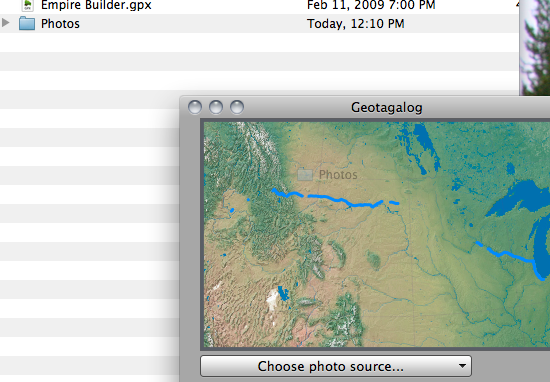
Similarly to opening the tracklog, you can use the "Choose photo source..." pull-down menu to find
the sample photos. (This pull-down is also where a connected camera would appear.)
But, again, it's easier to drop the sample Photos folder onto the preview map:
-
As your photos are loaded, each one will get a little dot marker on the map.
As you move the mouse cursor above these location markers, Geotagalog shows
a thumbnail preview of the images underneath:
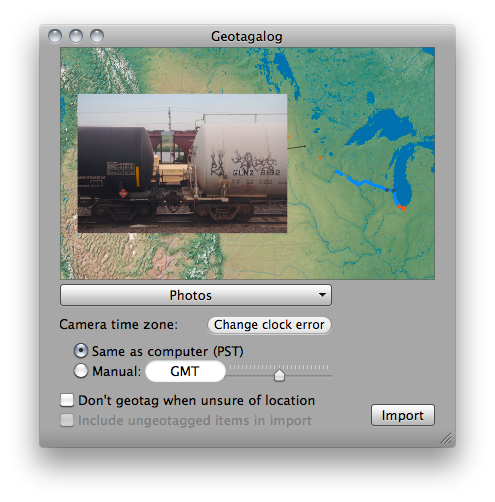
Depending on your computer's time zone setting, you might notice that the pictures are
not lined up well with the tracks. Many photos may even be piled up at the east or west
end of the tracklog, and have orange markers to show that Geotagalog is unsure of their location.
-
When these sample pictures were taken, the camera's clock was set to
GMT
instead of your computer's time zone. In the "Camera time zone" section,
choose the "Manual" setting and make sure the slider on the right is set to GMT without any offset:
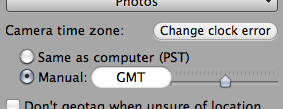
The photos are now lined up with the tracks fairly well, although there are still some orange markers.
-
Click the "Change clock error" button to switch the available settings.
Move the "Camera clock error" slider to the left so that it reads somewhere
between 20 and 40 seconds fast:
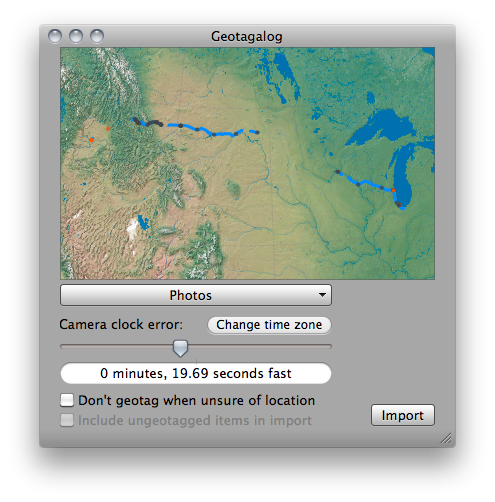
This will make Geotagalog sure of a few more photos' locations and you may notice some preview markers
turning from orange to grey.
-
The GPS logger was not always on during this trip, so not all photos fall within the time of a track
even after adjusting for the camera clock settings. When this happens, Geotagalog makes a guess of
where the camera was in the unknown gaps, based on the movement that is known from the tracks.
Since the guess is good enough in this case, you can leave the "Don't geotag when unsure of location"
checkbox unchecked so that these photos will still be assigned place information:

In some circumstances, you will want to check this box because your photo source includes photos that
were taken in a location far from the tracklogs you have available.
-
We went into a lot of detail, but now we're done! Press the "Import" button:
Geotagalog will import geotagged copies of the sample photos into iPhoto,
where you can view them in its Places section.
Copyright © 2008–2009 Calf Trail Software, LLC. All rights reserved.